Introduction
The reservation system is designed to reserve some of the facilities that are offered by the association. These facilities include:
- The studio (including the scanner)
- The mobile studios
- The members cameras
- The tripod
- The flash
If you have any questions about the system after reading this guide, please contact the board!
Registration and Login
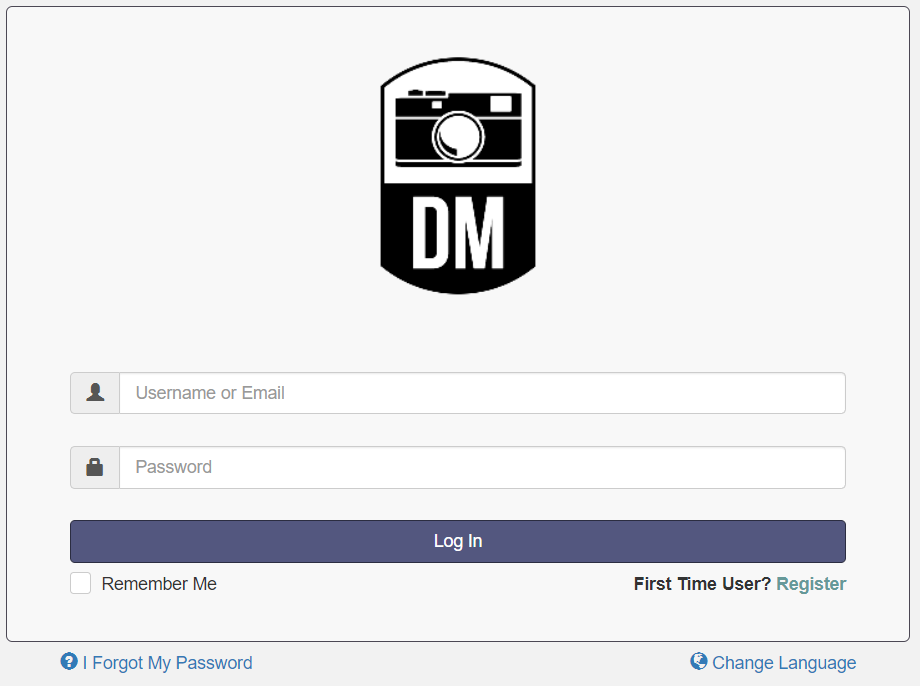
When arriving at the reservation system, you will see this login form. If you didn’t register yet, you can do this by clicking the register link in the bottom right corner (beneath the login button). Once you have registered you will receive an email containing an account activation link. After activation you can login into the system with your credentials.
Reserving a facility
Where to start
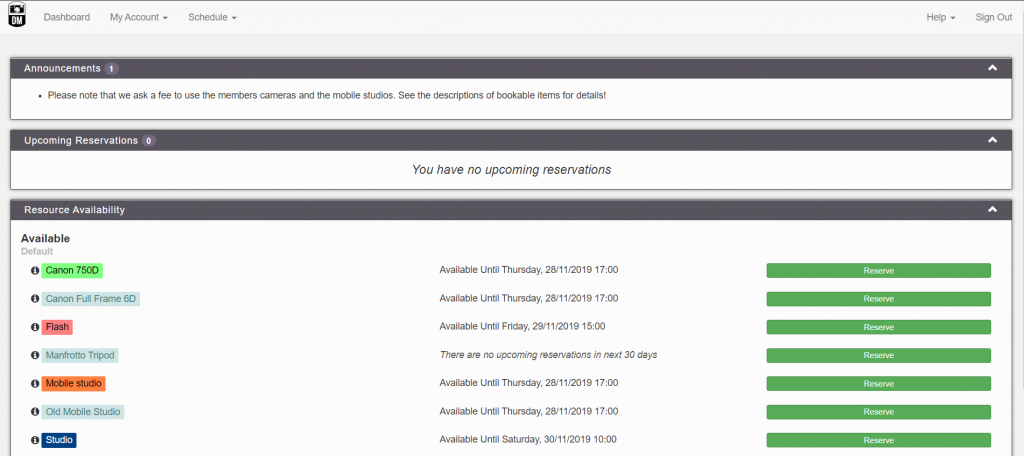
From the dashboard it’s possible to reserve resources without seeing the calendar. If you do this you’re not sure if anyone else reserved a facility at the time slots you like to reserve it (the system will notify you about this problem on confirmation). By clicking reserve you are directed to the reservation confirmation page as shown in Figure 5. If you do so, read further at Confirming your reservation.
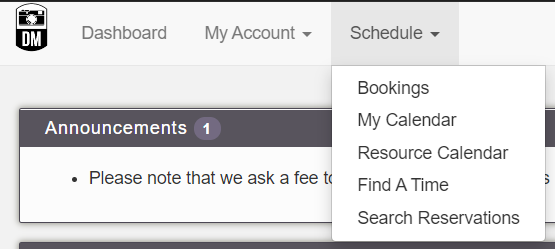
If you prefer to make your reservation via the calendar, click on Schedule in the menu at the top left of the screen. Then choose Bookings. The calendar page will appear.
Reservations via the calendar
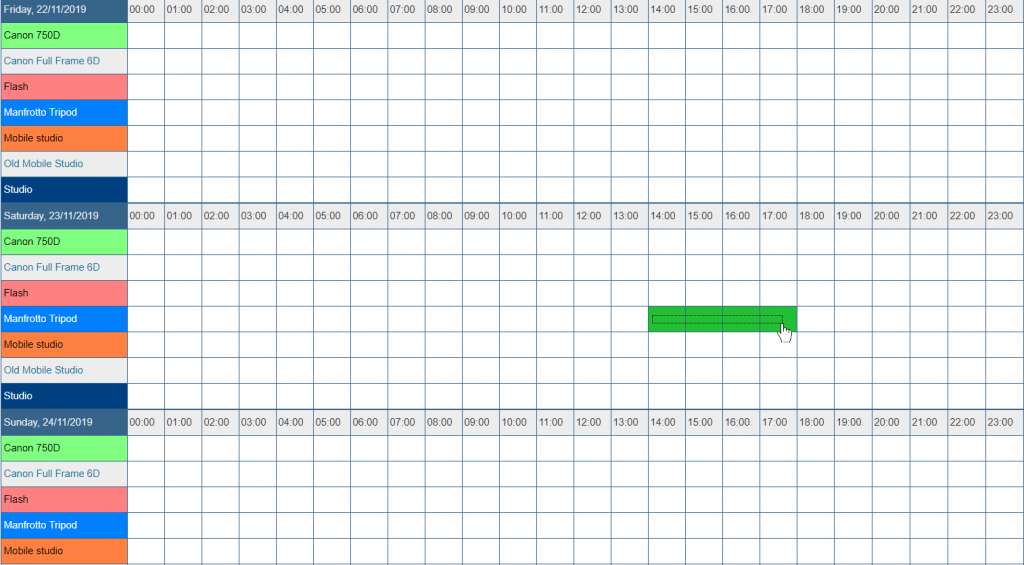
Here you can drag your mouse over the table to select a facility that you want to reserve during a specific time interval. Note that dragging over multiple rows will create a reservation for multiple facilities at once. When releasing your mouse button, you will be lead to the reservations confirmation page as shown in Figure 5.
Confirming your reservation
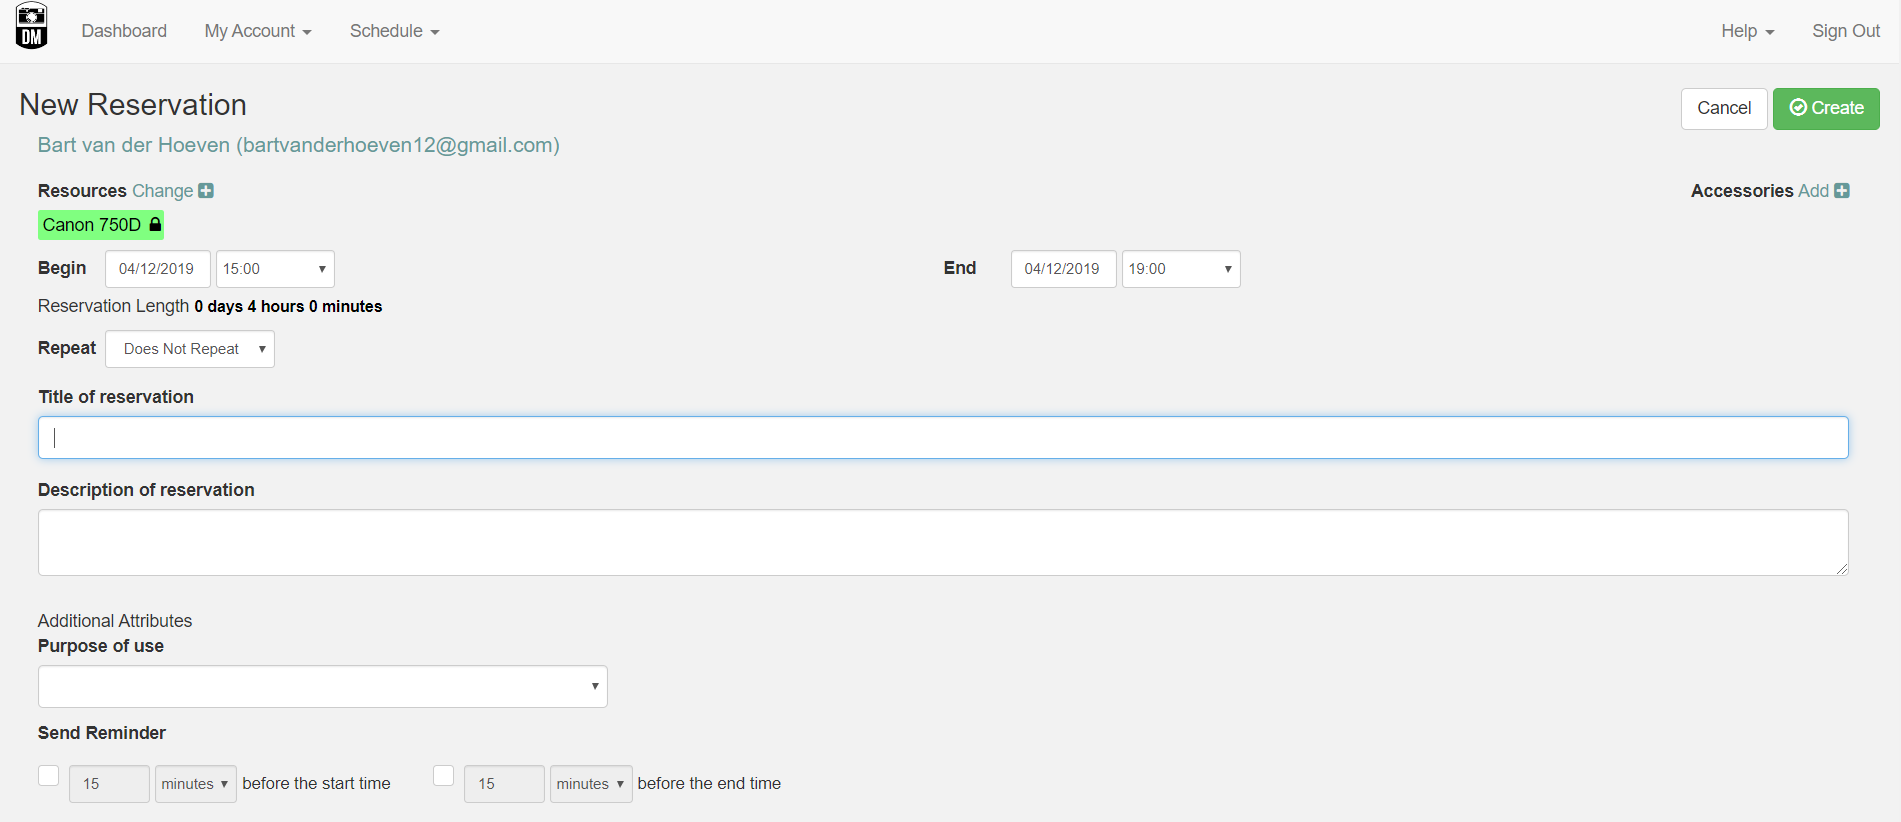
Here you can fill out a name and description for your reservation (not mandatory). It’s mandatory to supply a purpose of use. Depending on your reservation and its purpose we might ask you to pay a fee. The price information can be found here. It’s also possible to ask the system to send a reminder for the reservation in advance. When all the information is complete, click Create. The system will validate your reservation. If something is wrong, first try to validate the information yourself. If everything seems to be correct and it’s still not working, contact the board about this issue.
Approval of reservations
Some facilities require approval of the board. The system will let you know for which facilities this is the case. If you would like to receive emails once your reservations get approved read the Notifications chapter.
Reserving the scanner
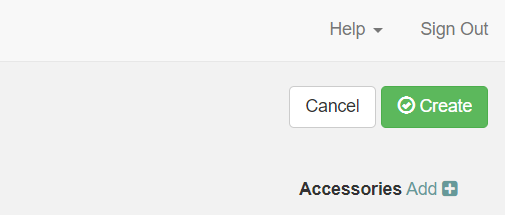
If you’re planning to use the scanner in the studio, you reserve the studio and add the scanner as an accessory. In the top right corner of the reservation confirmation page you click the Add button next to Accessories. A popup menu will appear which allows you to select the scanner.
Notification preferences

If you prefer to receive email notifications from the reservations system, you can change your notification preferences by selecting My Account and then Notification Preferences.